
A detailed guide to create and customize an WordPress Menu

A WordPress site wouldn't have much without menus and submenus. Making these menus customizable for your personal preferences from inside WordPress is also simple. In this way it is true that your WordPress menus function as a "front of the line' device to achieve an excellent search rank and help keep users on your website.
The dedicated screens in WordPress show how complicated your menus are. It is also possible to show menus on multiple locations of your website. If you've got the programming expertise, you'll be able to modify your WordPress menus with nearly limitless possibilities.
This article is going to provide you with an extensive guide on how to create the WordPress menu. Additionally, we'll demonstrate how to use the function and improve it with a number of different methods.
Take a look at our Video guide on creating and customizing the appearance of a WordPress Menu
The Structure of a Wordpress Menu

It will be discussed the menus you'll see on websites in more specific detail in the subsequent segment. As of now, remember that they are able to be placed wherever you'd like to show them. It's possible that you only have some pre-selected choices (based on the widget area). From a technical perspective however, menus is a flexible thing that can be used in any direction.
The different types of Menu Structures in WordPress
Like you may have guessed that, based on the application's requirements, you may choose several WordPress menu structure.
The menu above shows that there are many more uses that can be used for using a WordPress menu than simply navigating around the site. By using WordPress' built-in functions (more about this in the future) it is possible to create menus for nearly anything that you want.
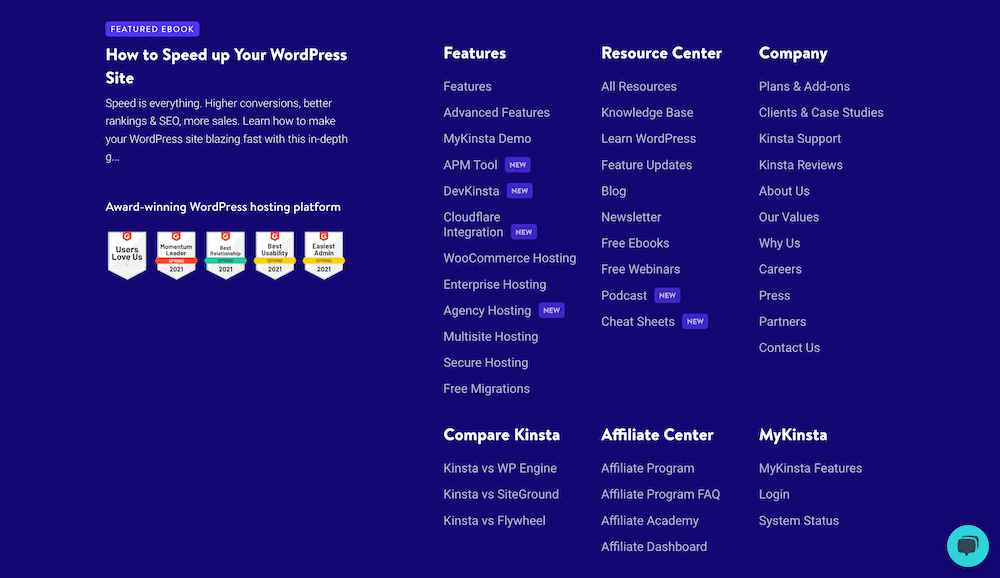
As popular as header navigation is footer. It is often used for repeating your navigation to users scrolling down. Additionally, it's a fantastic area to present more contextual URLs to your product or products and
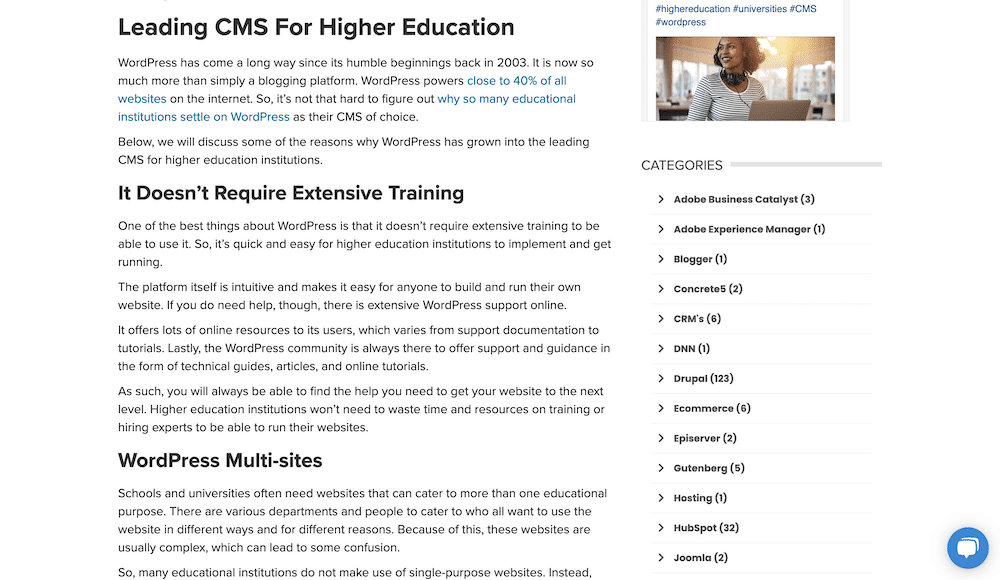
There are also menus in sidebars if the website makes use of this feature:
How do you create a custom Wordpress Menu (3 Methods)
The creation of an WordPress menu is an easy procedure, no matter the level of experience you have. There are three methods to get it accomplished: utilize WordPress features built into the platform; use a plugin that is suitable or play around in the programming.
We'll then show you how to build the WordPress menu with three methods.
1. Make use of WordPress' built-in functions to create your Menu
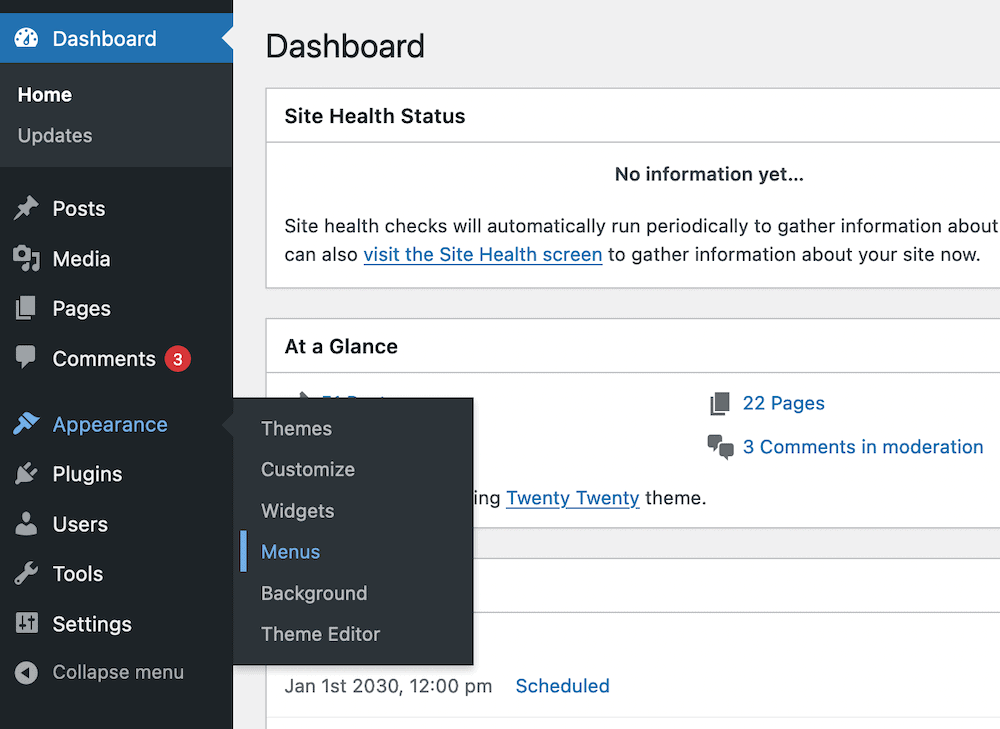
WordPress comes with built-in tools that allow you to create menus. The dedicated menu screen in the WordPress administrator will appear to everyone, even new users.
Naturally that using native capability to design your WordPress menu offers many advantages. In the beginning, you'll have total compatibility with the site. You can also create your menus with a familiar user interface and tools.
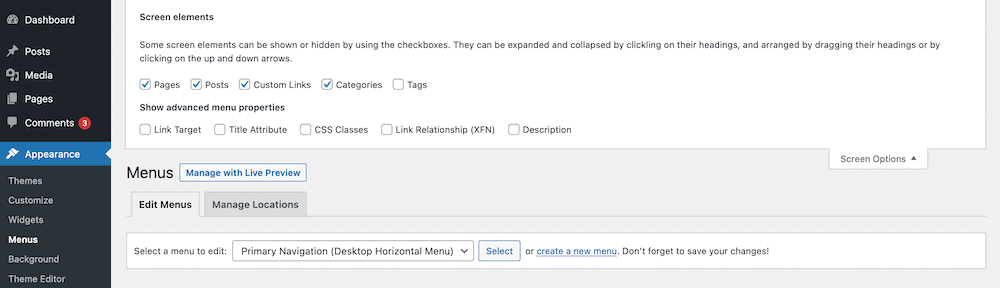
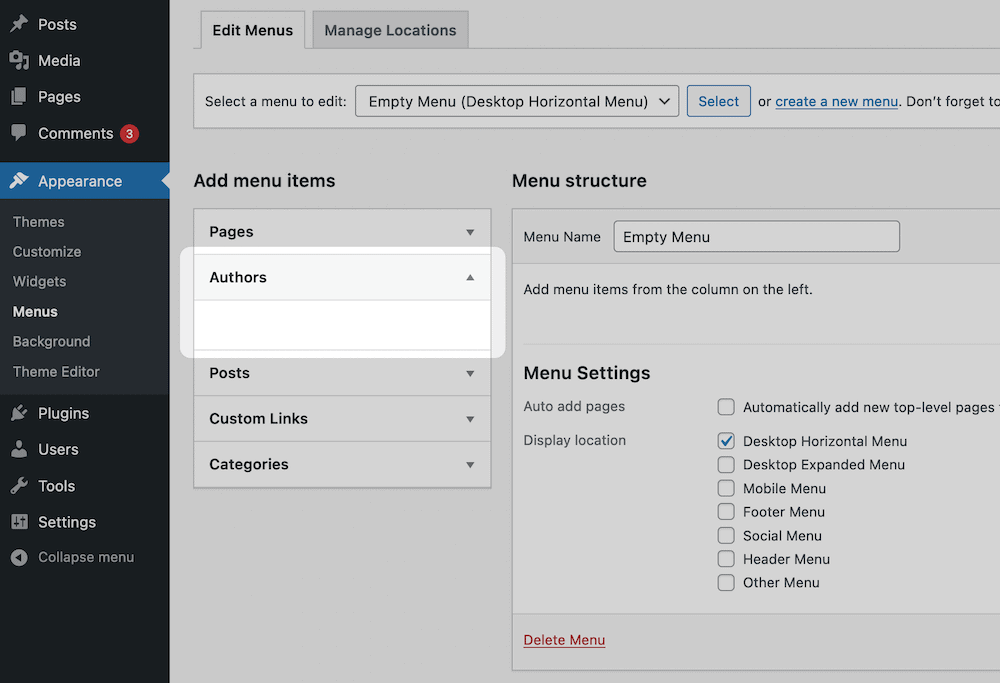
To access it, go to the menus > Appearance page in WordPress:
The screen is divided into a number of different sections. The top of the screen is where you'll have the choice to pick a menu that's currently available or to create one.
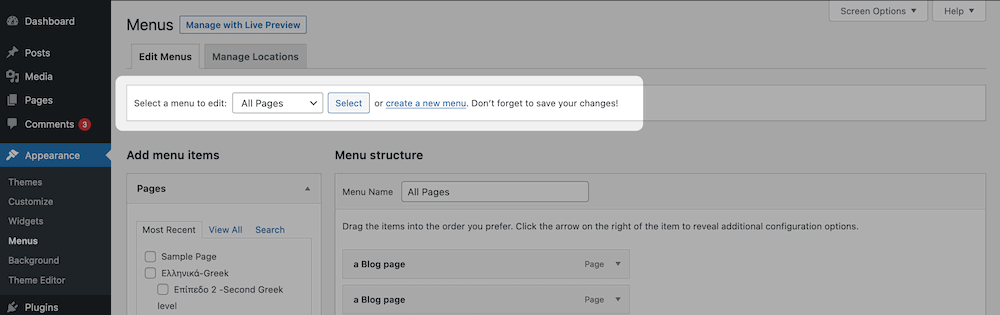
If you are planning to design your own menu, name it a name . Then, look over the Setting the Menu section:
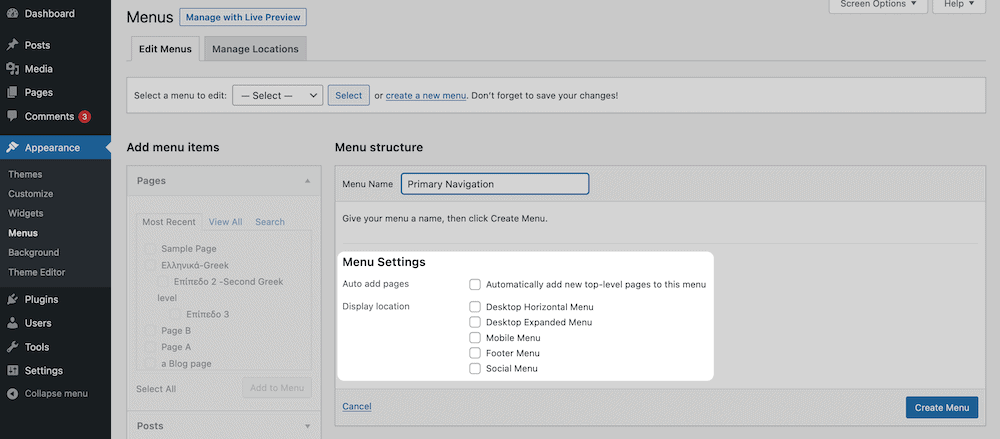
There's a wealth of checkboxes in this list, however there are two major choices to take:
- The top-level page is added to the menu by default. "Top-level" here refers to pages that you create in WordPress which aren't the children of other pages. As an example, a blog post can't be an upper-level page since it has an archive page that is the parent in the majority of cases (e.g. /blog). In contrast the contact page typically is top-level since there isn't the parent page.
- The location of the menu. Each theme will include menus in its places. If you do not alter the theme's main files, the designers of your theme have hardcoded these locations for menus. Certain themes let you customize the settings of their themes.
After you're all set, press then the menu creation button. The screen will refresh , and will indicate that you're now in your brand new menu. After that, you can glance at the left aspect of the screen.
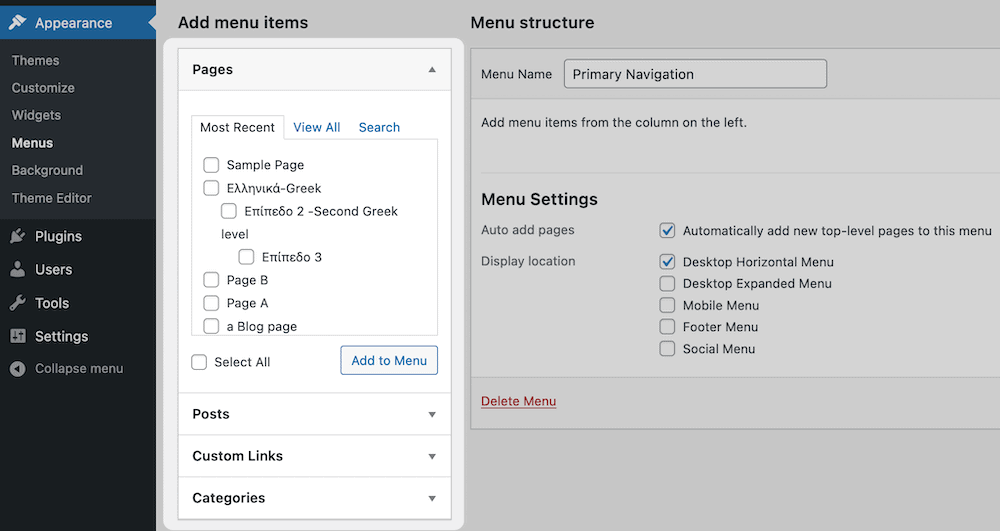
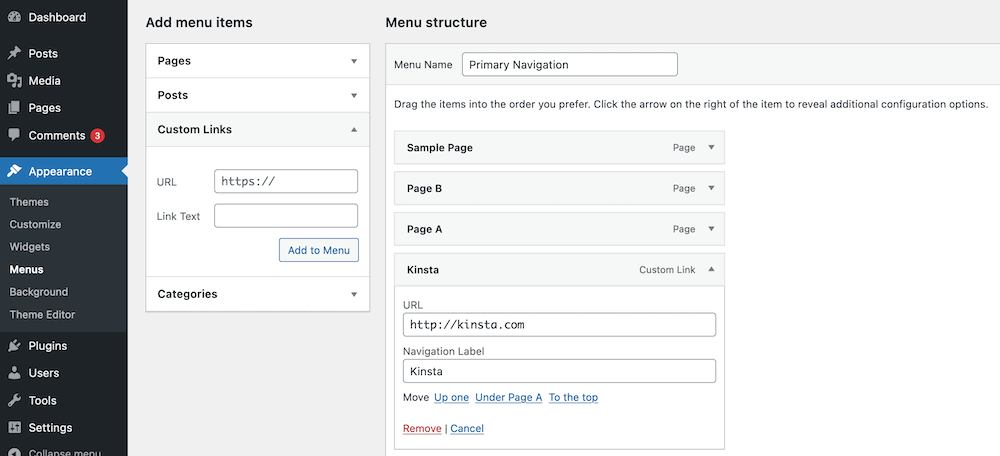
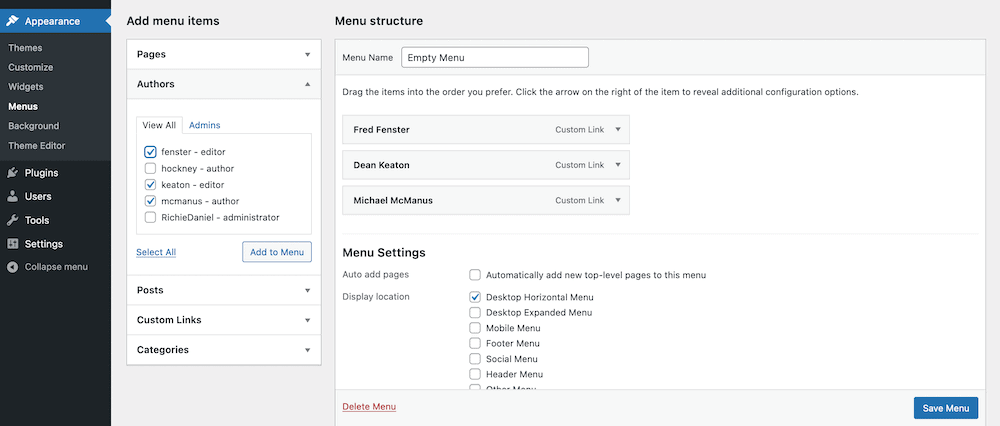
The screen displays all Taxonomies, posts, pages as well as other assets that can be linked that you have on your website. Your menu can be created by selecting the boxes to the left side, and then click to click the Add to menu button.
They'll be moved to the center in the Menus screen.
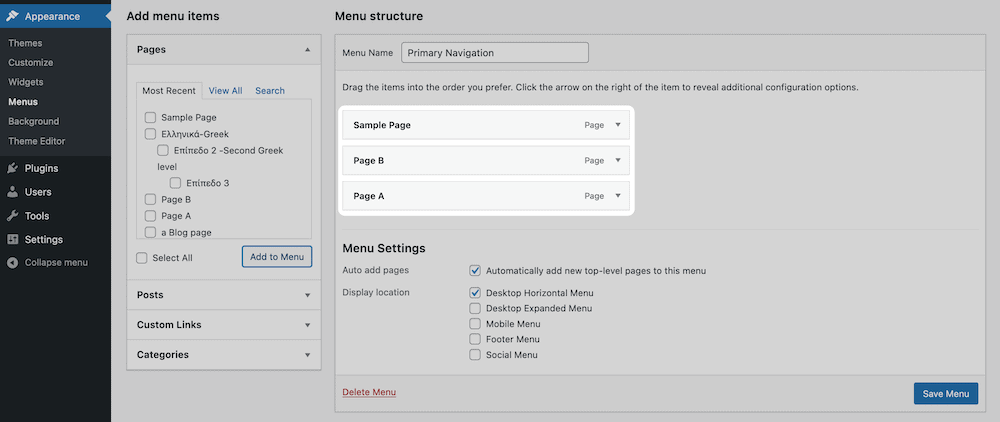
In this section, you are able to move menu items to place. If you press the expanding icon next to each item, you are able to create a name for the menu item, or delete it:
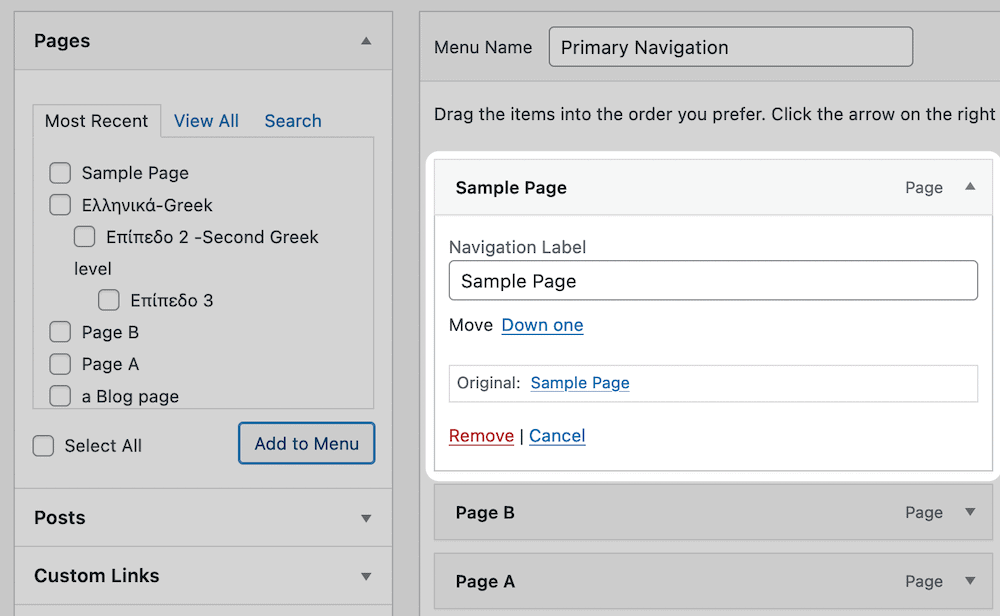
When you've clicked "Save Menu" You're good to start. If you open your Screen Options menu at the highest point of your screen but there's plenty more you can accomplish using the WordPress menu.
This screen elements group allows you to show meta menu boxes that are displayed in the sidebar on your left. Contrastingly, the Advanced options group shows links, description, and CSS classes of the list of items.
Another feature of the menus screen that is worth mentioning. Custom Links box Custom Links box allows you to create an individual link instead of an already-defined page for your site.
This is the method by which you could add social media sites on you WordPress menu. The system will choose an appropriate image for you depending on the website that you choose, giving you an opportunity to display well-lit logos for the websites you pick.
2. Utilize a plugin to make Your Own Custom WordPress Menu
It's unclear if it is necessary to use a specific (and an additional) plugin for creating menus on WordPress menu. There are numerous good reasons for making one. First, you'll typically create a menu that is using a style that which isn't accessible under the default configuration. Particularly responsive designs, "mega menus," and many more options are available to you via plugins.
Additionally, you are able to make menus by using an editor that is dedicated to you and select among pre-designed templates for a variety of scenarios. Along with a wide range of customizable choices, you can are able to create an "no-code" solution to create an easy-to-use WordPress menu that will work on your website.
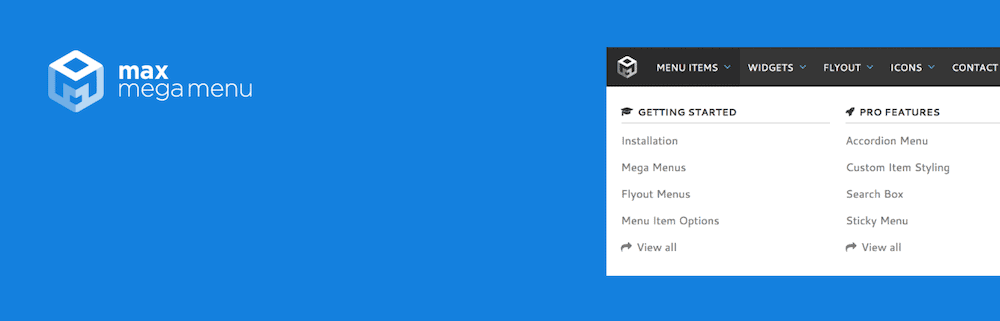
The Max Mega Menu software offers no any surprises regarding what you could do:
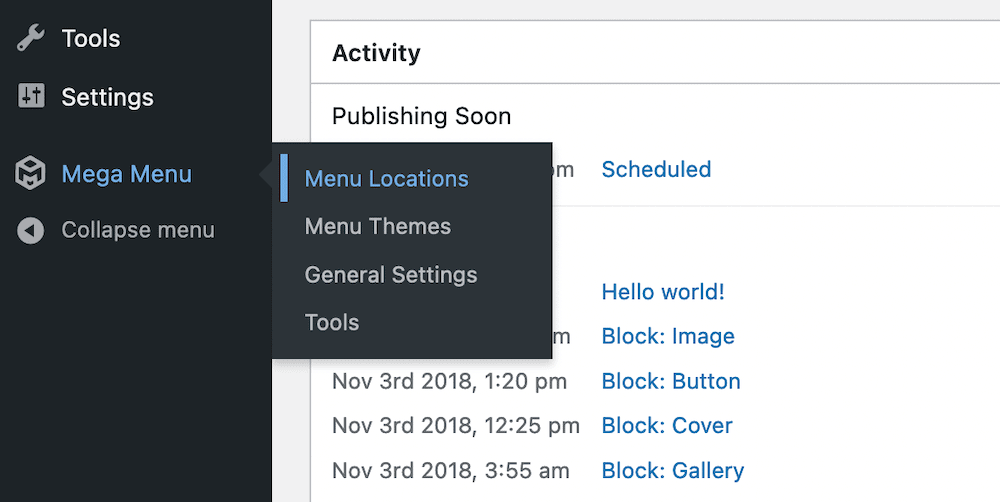
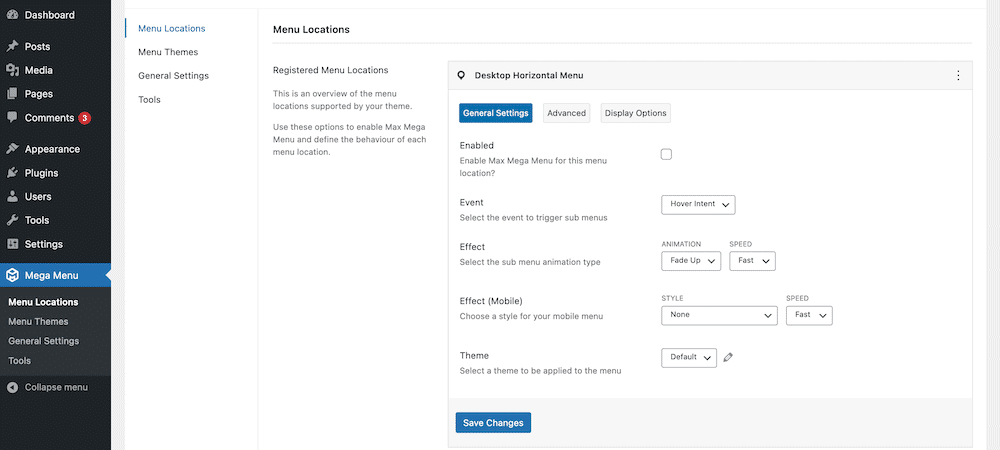
When you go to the menu locations display, you'll see the additional customization options accessible to you:
Additionally, you can create menus and modify them using the same capabilities as some pages builders available:
Do you want to know what we did to increase our visitors by 1000 percent?
Join the 20,000+ who receive our newsletter every week with insider WordPress tricks!

3. Copy Code to create Your WordPress Menu Customized to You
Making your personal WordPress menu can be a reliable method to reach your goals for those who are brave (or in the case of a designer making a fresh WordPress themes). Naturally, you're not going to use the code editor daily to create the menu. In that case, you'll be using the default WordPress tools (or possibly using a plugin).
Learning how to program the WordPress menu is a crucial necessity if you intend to create themes. The following are four components that are essential to success
- Create your own menu.
- The WordPress menu at the front of your screen.
- Display additional content in the menu, or in its elements.
- Define a callback.
Once you're done when you're ready, it's time to access the themes functions.php file. This file is distinct from the normal WordPress files with the same name. In this case, you must sign up your menu. Also you need to inform WordPress which menus to show in the Menus > Appearance page. For this, utilize to use the registration_nav_menus() function:
 function, register_my_menus()
action_add(  init','register_my_menus' );
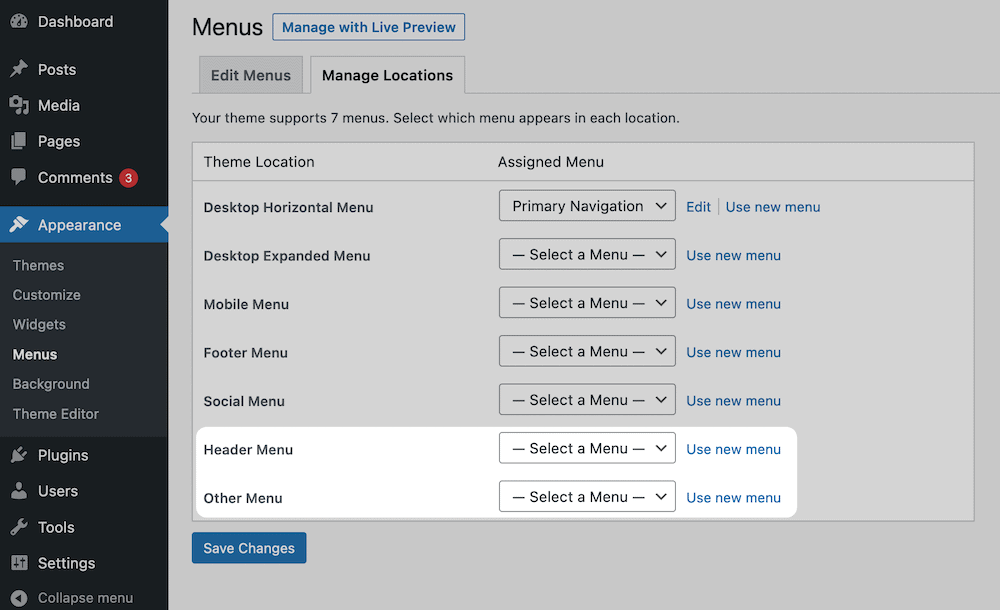
The code instructs WordPress' manage locations tab of WordPress to show two options: The Header Menu and Other Menu:
The next step is to show your menu by using the menu wp_nav_menu() function. This will be added to the template file to correspond with the area you'd like show your menu. For our example it's the header. We'll include the following code in the website's header.php file:
wp_nav_menu( array( 'theme_location' => 'header' ) );
The reason could be because this program is wrapped inside an when statement. This could be the case, as well as various other menus and you'll have adhere to the rules you'll see.
In the present you can make use of the menu feature inside WordPress similar to any other. However, you might think about adding more information to the menu options. In this case, you could extend the array defined in order to add HTML tags which render based on output
wp_nav_menu(
 array(
 'menu' => 'primary',
 'link_before' => '',
 'link_after' => '',
 )
 );
Your last task is to create an event callback. As a the default WordPress shows a menu that is populated when the menu you want to display cannot be found. If you don't, WordPress will display a list of pages if the custom menu option is not selected. If you're not happy with this procedure, you may choose a different value for your the-location argument, and then add to the alternative fallback_cb argument.
wp_nav_menu(
 array(
 'menu' => 'primary',
 // do not fall back to first non-empty menu
 'theme_location' => '__no_such_location',
 // do not fall back to wp_page_menu()
 'fallback_cb' => false
 )
 );
When you know how to build the WordPress menu, you are able to start to improve the function. This will be discussed in our last section, where we'll create the custom meta menu box to use with WordPress.
How to Make Your WordPress Menu More Effective? WordPress Menu
As this section is considered to be advanced and complex, it is necessary to make certain presumptions before proceeding:
- You are familiar with how to build the WordPress menu by using PHP.
- Your PHP abilities are strong enough that you can follow the more advanced topics.
- It is easy to sign up and then initialize an WordPress plugin.
This is beyond the scope of this post, however you could make use of the WordPress Boilerplate Generator plugin to make a completely unique, standard template for plugins.
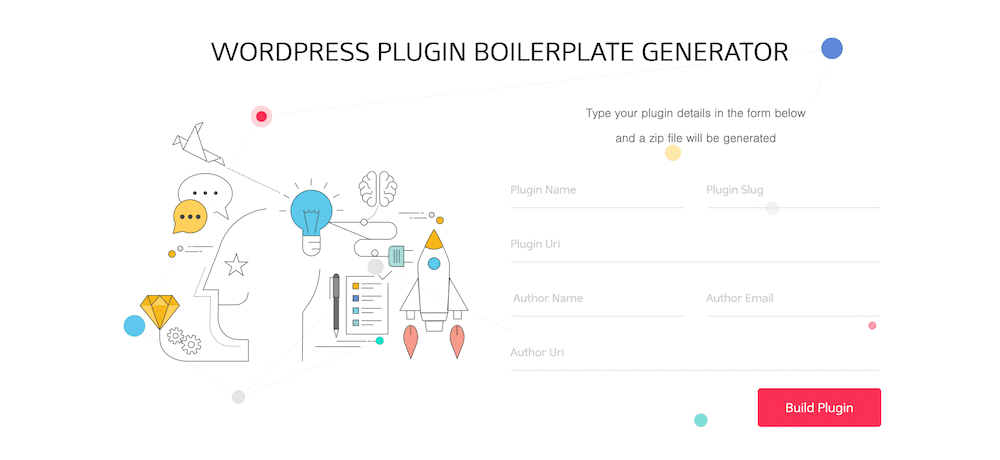
If you're all set, you can create and then upload your plugin onto WordPress:

Then, go to the folder of the plugin and then launch the primary file. In this folder, you can add the below code:
/**
 * Add menu meta box
 *
 * @param object $object The meta box object
 * @link https://developer.wordpress.org/reference/functions/add_meta_box/
 */
 function custom_add_menu_meta_box( $object )
 add_filter( 'nav_menu_meta_box_object', 'custom_add_menu_meta_box', 10, 1);
It is the WordPress add_meta_box() function will add a metabox to the WordPress administrator. There are several arguments that you should reference in the documentation for official WordPress. We also use the nav_menu_meta_box_object() filter because there is no action within the nav-menus.php file to hook into. The statement tells us if this function will add the meta box of a menu item to an object type. The filter will run when add_meta_box creates the meta box.
Definition of a Callback Function
Then, we could design a callback function in order to create the HTML contents for the meta box.
Code >/**
* Shows the metabox of an Menu item that is an author. *
 * @global int|string $nav_menu_selected_id (id, name or slug) of the currently-selected menu
 */
 function custom_menu_meta_box()
The global variable remembers the current menu ID, while $walker stores a new instance of the Walker_Nav_Menu_Checklist object. This will create the HTML listing of options available on the menu.
In this case, we need to identify the tab that is active inside the meta box custom to us. In order to do that it is necessary to set values for the $current_tab using the ellipsis we set within the earlier block of code.
Here, we've used two tabs however, you are able to include as many tabs as you require:
$current_tab = 'all';
 if ( isset( $_REQUEST['authorarchive-tab'] ) && 'admins' == $_REQUEST['authorarchive-tab'] )  elseif ( isset( $_REQUEST['authorarchive-tab'] ) && 'all' == $_REQUEST['authorarchive-tab'] )
This line will add the write privileges of all users and also add numerous attributes of the $authors object:
$authors = find_users( array( "orderby" =  nicename' and 'order' =  ASC and 'who' =  author ) )$admins = array() //assign values to the required properties of itemsbyforeach ( $authors = &$author ){ classes = $author() and$author->type is 'custom'$author->object_id = $author->nicknametitle = $author->nickname . ' - ' . implode(', ', $author->roles);
 $author->object = 'custom';
 $author->url = get_author_posts_url( $author->ID );
 $author->attr_title = $author->displayname;
 if( $author->has_cap( 'edit_users' ) )
 }
 $removed_args = array( 'action', 'customlink-tab', 'edit-menu-item', 'menu-item', 'page-tab', '_wpnonce' );
 ?>
In this case, the get_users function provides an array of users objects that are selected using the parameters specified. When you specify the the who parameter forces WordPress to search the database to find users who possess writing privileges.
Additionally there is the array $admins array stores authors' names and authors, while the $removed_args array is an array of query variables that are to be deleted.
Now you can print the meta box's markup. In order to do this, we'll create the tab labels as well as hyperlinks.
Be sure to assign the proper classes, class IDs and data attributes to the elements in the meta box, in the absence of this, the menu will not function as it should.
Both the add_query_arg as well as the remove_query_arg functions assign specific values for tabs in authorarchive-tabs. Authorarchive tabs variable, and eliminate irrelevant variables.
In this moment, we are in a meta-box with clearly defined tabs:
Next, we need to create tabs' HTML content.
The creation of the HTML Content to be used in Meta Box Tabs. Meta Box Tabs
You'll want to follow the code in the previous section within the custom_menu_meta_box() function. For the creation of your menu you can use the following code within the "div>" tag that you created in the section before:
  $walker) );
 ?>


  $walker) );
 ?>
The simplest way to describe it is that each tab has a number of boxes. This walk_nav_menu_tree() function prints the entire list with 3 arguments: $items, the $depth $depth, and the number $r All of which are required.
The array $items array is a list of admin user. The array_map() function applies the wp_setup_nav_menu_item() function to $admins and adds menu item properties to the array elements.

We can then finish the job.
By adding a Submit Button
The majority of the meta box has been completed However, we'll require the submit button as well as a processing "spinner" symbol.
This is a small bit of code could be placed directly following the block that you've previously placed:
class="button-secondary submit-add-to-menu right" value="" name="add-authorarchive-menu-item" id="submit-authorarchive" />
If you have this information that you have, you are able to include almost all functions in your menus! There's an publicly available version of this plugin available on GitHub, and is accessible for download at no cost.
Summary
The WordPress menu is an important component of your site. As such, WordPress offers a custom and robust panel that can permit you to personalize every menu you display on your site. But, it doesn't offer everything you'll need on the default.
Do you wish to alter the look and feel of your WordPress menu? If you do, then what kind of approach do you intend to take? Let us know your thoughts and ideas by commenting below!
Reduce time, money and improve site performance by:
- Help is available immediately 24/7 support from WordPress hosting experts 24/7.
- Cloudflare Enterprise integration.
- The global reach of the audience is enhanced by 29 data centers around the world.
- Optimization using the integrated Application to monitor performance.