
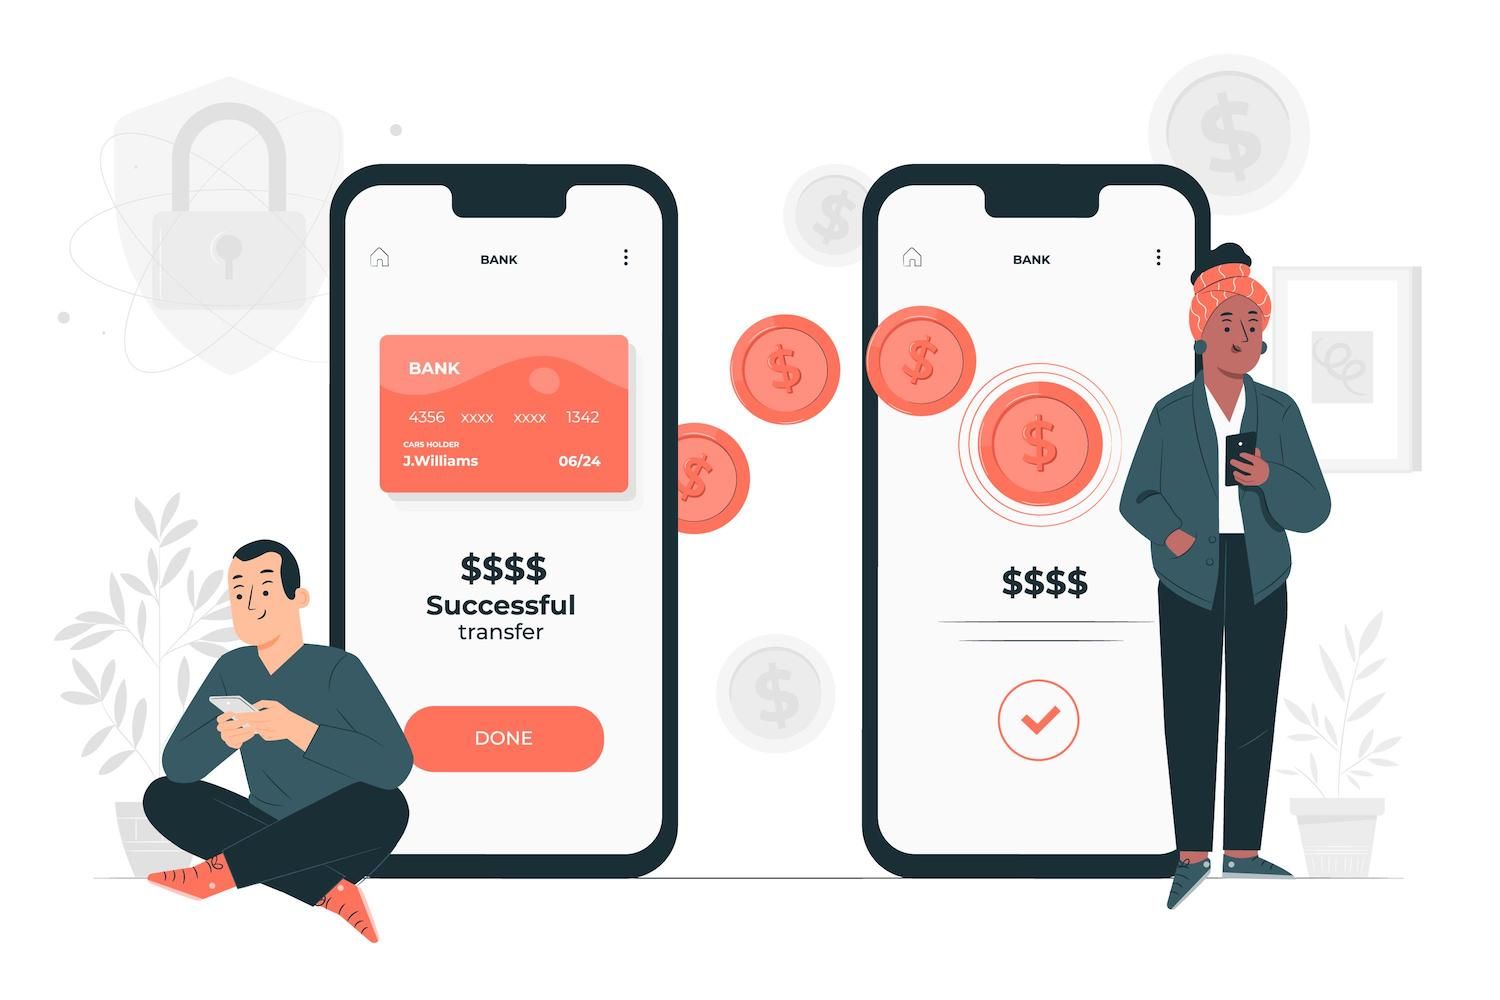
How to Transfer to a WordPress Site on Your Own (With Zero Downtime)

If you're using an alternative host, would prefer to work it out in a manual manner, or you're moving between sites located in the same area and remote ones, this guide will help you understand the steps to move your WordPress site over to a new hosting provider.
When You Might Need to move a WordPress Website
- Migration of a website into the WordPress Multisite Network. There are times when you have to use an existing single site and transfer it to a multisite network. Again, this is a little more complicated as compared to migrating one site to another, but you can do it. This is something I do for clients who have an existing site they want to migrate to my hosting. However, I recommend using Multisite to host all of my clients' websites.

The easiest way to transfer your WordPress website is by using a plugin.
Moving the WordPress Website to a new Hosting Provider Using the WordPress Duplicator Plugin
We'll review of how you can move a WordPress site onto a different host using the Duplicator Plugin.
This guideline will work with any standard WordPress installation, allowing you to move your WordPress website from one hosting provider to another: remote or local. It will also work when you wish to move your site into the entire Multisite network. We'll discuss the process of moving sites into and out of Multisite later.
The plugin for duplicators works through the creation of two files:
- A zip file that contains the database and files from your old site (the site you're migrating from).
- A installer.php file.
Then, you upload the files to the new site and run the installer.php file. The program will decompress the zip file, and then import your data and files.
Let's take a look at how to do it.
Before you begin the migration with Duplicator
Before running the transfer, there are a few steps you need to follow.
Clean Up Your Old Site
Disable Caching Plugins
Backup Your Old Site
Make the New Site
It is necessary to build your own, unfinished site (without WordPress installed) in the new location for your website.

It is then possible to import your files into this website. Be sure to do not install WordPress.
If you're migrating to a local server then you'll have to install a program like Desktop Server to ensure that it can be used to run WordPress. If you're importing to another hosting service, you'll need SFTP access to your publicand / directory. There is no need to install WordPress.
Migrating a Multisite Network
If you're moving to or from a different hosting service make sure to ask them if they have anything that you require them to accomplish before you make the change.
Making an Archive of Files and Data From the old site on WordPress
The first step in the migration process is to make the files on your previous site, in order to import them to your new website.
Install and then activate and activate the plugin on your WordPress Duplicator plugin. Go to the Plugins tab, then Add New then type in 'WordPress Duplicator'. Select the button to install the button to install the plugin followed by the Activate button.

It's now time to make an archive file that will be used to migrate your website. Select Duplicator from the admin menu to access the plugin settings.

This screen shows all the bundles you've made that are archives of your website. At present, the archive will not be populated.
To make an archive of your site, select to the Create New button.
After that, you'll be brought to a set-up screen, where you will be asked to enter the details for the software in the following order:
- Name Name: Give the program the name you think is meaningful to you.
- Archive: Specify whether you wish to archive only the database or both the database and files too. If you're migrating your website to the cloud, everything will need. Leave the checkboxes unchecked.

Now click on the next button to continue.
The plugin will scan your system and inform you know if everything works fine.

If there's any issue Follow the suggestions given from the plug-in. As you cleaned up your website prior to starting the process, you should not have problems.
Click then the Create button to build the archive. The process will take a while to finish and do not click away from the screen.
Once it's finished when it's done, you'll have the option of downloading your package's files.

Click on the one-click download button to download both files to your computer. Store them somewhere safe where you will be able to download them to facilitate the transfer to your new website.
Your archive is now complete.
Importing the Archive into Your New Site
The following step is to transfer the files to your new website and then run the importer program.

After you've completed that, launch the installer by visiting its URL in your browser. This is done with the temporary URL of the new website since there is no transfer of your domain across.
So if your temporary URL is http://temp..com, you would visit http://temp..com/installer.php in your browser.
This opens the duplicator screen.

If you entered an account password while setting up the duplicater file then enter it and hit on the button to submit. button.
You'll then be taken through the process of running the import. On the next screen select the checkbox on the bottom, and then click the Next button.

- Name of the host.
- password.
- username.
The plugin uses this data to change the site's settings.
Find all of them on the Info screen of this site within My.
If you're shifting to a different host Ask them for details or find it in the email they sent you when you signed up.
Check the link to ensure that whether your database is operating correctly Make any necessary adjustments if you need to. If the system is in good shape then press Next. next button.
The Duplicator plugin will run through step 3, where it will utilize the temporary URL to the new website to ensure your database function properly. Select Next to click the next button to proceed to Step 4 where you will be able to login on the website.
Every time you access your site it should be an exact copy of the old website. The only difference will be your domain's name.
Redirecting the Domain Name
When you've tested the new website and are happy that it's working as it should then you'll be able to change the domain's name on the new website.
If you're also planning to make use of your domain to send emails, then you won't want to change the nameservers as the nameservers will be pointing all variants of your domain name at your new hosting provider.
If you're with another hosting provider, it is necessary to add an add-on domain to your account so that it directs to your new site. The provider you choose should be able to offer guidance on doing this.
You're not quite done yet.
This could take up to 72 hours, however it's usually significantly quicker.

There are two fields to update:
- Site Address (URL): if you want the address users see to be different from the real address of your site simply update this field. If both fields will be the same (which is the norm), update both fields.
Hit to the Save Changes option to store the URLs.
You now have your new website operating from your new location. If you do not require the previous site you have, now is the time to remove that and close down your old hosting account if you switched to a different provider.
Migrating a Site to or from WordPress Multisite using plugins
If you're migrating a single site into or from WordPress Multisite, you can accomplish this using a plugin but it isn't possible to use it with the WordPress Duplicator plugin. This is because it's not necessary to transfer the whole database and files to be moved: only ones from the specific site.
For the migration in to and out Multisite with a plugin, you'll need to use three plugins:
- One way to move the content.
- One to migrate widget settings.
- One to migrate users.
In the case of your particular setup You may not be required to use all of these. Let's see things one step at a time.
Migrate Files into and out of WordPress Multisite
Before you migrate any content or settings, you'll need to transfer the theme and plugin files. This can be done in two different methods:
- Download the themes and plugins from your old site using SFTP and upload them to the new site.
Then, activate the theme of your new site and activate any plugins too. Some things to consider:
- If your new site is part of a Multisite network, it is necessary to turn on the theme of your site. Go to Network > Sites Click on the edit button next to the website you're working on, and clicking the theme tab. From there you can enable the theme. Then go to the Appearance tab, then Themes within the new site and activate the theme there.
- It is not necessary to install plugins on the specific site. Instead, you could install them, then visit the Pluginsscreen for that site and activate them there.
- If you're migrating from a site in a network to a standalone website, all you need to do is install and activate the theme and plugins as it would be for any other website.
You now have all your files in place on the new site. Take some time to configure the theme and your plugins. you'll have to do this manually if you're using a plugin to complete the migration.
Import users into the Multisite
Exporting users and importing them into and out of Multisite is more complicated due to the fact that WordPress doesn't keep users on every site within Multisite. Instead, it keeps them within a single database table for the whole network, named the wp_users table.
If you're importing from a website that is part of the network, only import users who are registered to your website as opposed to those who are who are registered on other sites in the network. If you're importing to a site that's part of a network, you only need to make sure that you activate the users who are registered on the site, not for other sites in the network.
If your site includes multiple authors, do this before importing the content so you can assign the correct user to the content when you upload it to your new site. So let's do it!
Begin by installing and activating the plugin in both your old and new sites. Then in your old site, go there: Users > User Import Export. Users > Users Import Export.

Select the Export of Customers and Users option at the top. Select which user roles you want to export (if you leave this by default, it will export every role) Then scroll down until you select on the Export Users button.
The software will then download a CSV file to your computer. Save this somewhere you'll be able to find it to import it again.
In your brand new website Go on to Users > Export Users and select the Importing Users/Customers tab.

Download the CSV file you've just created and then click the Upload file and import button. The program will upload the file and import the users to your new site.
If you are working on a website within a Multisite network, it is possible to import users and exporting within the website, not the network admin. All users imported are included in the database of all the network, but are only activated within the site.
Transfer Content to or out of WordPress Multisite

Keep the downloaded file in a place you can find it again. It will be in the XML format.
When you are importing any information into the new website, it's important to make sure you've set up the appropriate custom post types or taxonomies in place if you had these in the previous site. If you're still not doing this, revisit the previous step to ensure you're using the same theme and plug-ins that are activated and installed in the new website as you did on the old site.
Open the site then go to tools > import. Go until you reach and then to the WordPress category. If you have already installed the importer plug-in installed Click to run the importer. If you do not have it installed, follow these steps on this page to install it and then activate it. Then run it.

The program will ask users to upload files to be imported. Choose Choose File to locate the file that you downloaded from the old site then click the upload file and upload button.
The importer will remind you to make sure that content is assigned to the correct users in the new website, which is why you must import users before you import content. If you're not doing this already, stop the content import and go back to the earlier step.

Choose the appropriate users, then select the Download and import file attachments checkbox. WordPress will find any attachments in your old site take them, when it is able to and then import these to your new website. There are times when this isn't possible because concerns with access or security but when you're transitioning from a remotely hosted site to another, it normally will.
Click the submit button. WordPress will upload the file and make the content. After it's completed and you'll receive a confirmation. Go to your blog posts (click Posts in the menu for admin) and you'll see the posts you imported on your new site.
It's a long path to getting your website moved - the only thing left for you to do is transfer widget settings.
Migrate Widgets into and out of Multisite
The last step is to transfer widgets. You don't have to configure these manually: you can utilize the Widget Importer as well as the Exporter plugin in place of.
Install and activate the plugin for both the old and new website.
On your previous site navigate to Tools > the Widget Exporter and Importer. It will bring you to the Widget import/export screen.

Click on the Export Widgets button. The widget will be downloaded onto your PC using the widget's configurations.
Open your new website. Check to see if you've got the same theme and plugins installed and activated as you did on your old site since some of them might be providing widgets that you'll need to set up.
The widget import process doesn't import the widgets themselves. Instead, it imports configurations for widgets. Also, it is important to are using the same theme in order to ensure the widget sections will be the same.
Click Tools > Widget Importer/Exporter. Next time, select the Choose File option and then transfer the file you downloaded from your old site. It should have the .WIE extension.
Select to click the Import Widgets button. The program will import the widgets, and show you a an update screen that informs that they've been imported.

If there are any missing widget areas, widgets you used on your old website are imported and will be placed in the inactive widgets section of the Widgets administration screen.
If you attempt the import of a widget which doesn't exist on your new site, probably due to the fact that you're not activating a plugin, you'll get the error code. Install and activate the plugin and run the import again and the plugin will not duplicate those widgets you've already imported.
There should now be an identical duplicate of your previous site on your new web address. Be sure to review the configuration and settings on the new website and verify that they're similar to the old site (or modify them if you would like to change them).
Migration of a WordPress Website Manually
Here I'll be focusing on transferring a standalone WordPress install to another. In the next part I'll examine how this differs for WordPress Multisite network.
Create a Fresh WordPress Installation
Start by creating your new site using an empty WordPress installation.
Within My, click on Sites from the administration menu Click on Sites, then click the Add Site button on the upper right of the screen. You will see a dialog box asking what type of site you'd like to create.

Select the Add site button, and a brand new site will be built for you.
If you're not with them the service, you could create an entirely new site by using your hosting provider's admin interface. All you need to do is to create a folder where the site will go, or in the event that you don't have any other sites on your hosting account then you may bypass this step and add the file to the the /publicor folder in the next step.
Export Files using SFTP
The next step is to transfer files from your previous site to your new. It will involve theme documents, plugins, uploads and any additional files that plugins may have added to the WordPress-content directory.
In order to access your website, you'll need your SFTP details. Within My I'm Here, you'll find those by clicking on Sites after which you can select the title of your website and then clicking on the Info tab.


Transfer your Database to Your Old Site
In your hosting interface for your old site, go to phpMyAdmin.
In My You can do this by clicking Sites, selecting your site and finally moving to the Information screen. On the Access to databases section, select the button to open the phpMyAdmin button.
You will be prompted for your database username and password. This isn't exactly the same as the password for the hosting account you have.
In My You can locate the username and password for your database in the Database access area of the information screen. If you're moving to another hosting provider, you'll most likely get these details when you register for the account, or when you go to the administration screens.
Within phpMyAdmin you can click the database tab. The tab will provide you with a list of all the databases you've set up within the hosting account you have.

Click on the title of the database, which is the one that corresponds to the website that you would like to duplicate. Then, you will see the list of tables within the database.

Select the "Check All" checkbox beneath the list of tables. In the By selecting the dropdown box beside the Export option, choose it.
PhpMyAdmin will redirect you to a new screen. Select the "Go button on the right of the display.

PhpMyAdmin can create an SQL file to download onto your PC. It can be saved somewhere where you'll be able to find it again.
Upload Files to your New WordPress Site
The next step is to upload the entire set of files onto your new site.
In the settings of your FTP client, connect to FTP by giving the following information:
- Connection type: SFTP.
- Host name, address, server, or URL Your IPv4 address.
- Username is your SFTP Username.
- Password Password: Your SFTP Password.
- Port: your SFTP Port.
Upload the files to the same directory the files were on in your original website, usually in the /public/ directory.
It could take some time to upload them, therefore you might want to get an espresso while waiting.
Import the Database Tables to Your New Site
In the hosting interface for your new site, go to phpMyAdmin. The My tab lets you access this via the information screen that displays for your site.
If you've created an accidental WordPress installation previously, or you need to override an existing WordPress site, you'll need to drop the existing database tables. Select all of the tables in the same way that you would when exporting these tables from the previous site, and click the With selected: dropdown menu. Select the drop option.

Once you've dropped your databases, or even if you don't have a database at all in initial, then you'll be required to move the tables from your old site to your new site.
In phpMyAdmin Click in the import tab. Within the Importing Files section, click the Choose File option and choose the SQL file on your computer that you downloaded already.

If you're migrating a site to a local instance or to a web hosting service that is not listed, you'll most likely have to create an empty database before you are able to import the tables. With phpMyAdmin the procedure is through the database screen, and then clicking the button to create a database button. Give the database a name that makes sense and then transfer the tables into the database.
Edit your wp-config.php File
Return to your FTP client, and locate the wp-config.php file in your new website. Copy it in order to have a backup (just in case). Then right-click on the file, and then click the Edit button to start it. Look for the area that has details of the database:

Update these lines with the details for your database, which you'll find in the information screen in My. If your site is located on a local machine then use these credentials:
- Name Name: The name you assigned to the database at the time it was created.
- Username: root.
- Password: root.
If you're migrating your site to another hosting company then you'll need these login credentials on the dashboard of your hosting provider.
Try Your Site Out and Check for Updates your Domain
Now you have your new WordPress site set up It is time to make sure the site is functioning as expected. As you test it, you should only use make sure that the test links point to the new site instead of the previous one. You'll notice that some hyperlinks in the database use an old domain name.
Comparing the old and the new website and make sure the two sites are similar.
Forward the Domain Name to Your New Site
The process for this will be the same as when you use the Duplicator plugin. Follow the instructions above in that part of the article.
You now have your new site at your new address. If you don't need your old website, it's time to delete it and then close your hosting account from which you previously used. And you're done!
Manually migrating a WordPress Multisite Network
If you need to move manually a Multisite network or transfer a site into or from the Multisite network, and you prefer not to follow the plugins approach outlined above, you can do this.
This is complicated due to the simple fact that you have to transfer a few of the database tables and some of the files.
Instead of describing the process in full, I'll outline the differences so you can utilize them while working through the manual migration above.
It is important to note that if you're migrating to the whole network, the process is identical to that for one single site, since it's the whole network it's transferring. In this article, I'll concentrate on migrating individual sites into or out of Multisite.
Create the new Site
In the event that you want to transfer to the new files, don't be able to import the WordPress files, but just the contents of the wp-contentdirectory.
Export Files
If you're exporting data from a single site into networks, the method of exporting files will be the same as above.
If you're exporting an existing site that is part of a Multisite network You'll have to locate only the data from that site.

Find your site's ID it is usually a code. It is located in the Network Admin > > Sites screen in your network. After that, in your WordPress-based directory, go to the uploads/sites folder and find a folder with the site ID (the number) as its name. Download the contents of that folder.
Export the Database Tables
When exporting from an online network then you'll need to export the tables that relate to that site. Within phpMyAdmin look for the table that are named "wp-id-name" and wp-id-name, where the word id represents the ID for the website while name is the name of each unique table. Pick all of them and click the Export option.
The following example comes from a site in the network, with plugins that create additional database tables for each website. It is necessary to export these too.

After that, you'll need to edit the table's names prior to you can import them to the standalone website. Backup the SQL file and open the original. Find all instances of (for an example) wp-3-, where the number 3 is the ID of the web page. Replace these with wp-. Save the file. Then, make use of the newly edited file for importing into the new website.
Import Files
If you're importing to a site within a Multisite network, you'll need to upload the uploads to the correctly numbered folder in wp-content/uploads/sites.
When you import themes and plugins, upload them to the themes folder in the wp-content/themes and the wp-content/plugins folders in the same manner as you upload them to a standard WordPress site.
Import Database Tables
If you're importing to a site within a Multisite network, you'll need to make sure the tables in the SQL files have the proper prefix before importing the data.
When you've created the new, empty website within your network which you'll be migrating into take notation of the ID number of this site. Make a backup of the SQL download from the original site. Then access the file from the first. In that file, replace all instances of WP- by (for an example) wp-3-, where 3 refers to the ID for the new site. Save that file.
Next, in phpMyAdmin Select the folders that were created for the new site in your network (all those that have the ID of the site with their prefix). Take them all off. Once that's done, import the file you created to make new versions of those tables.
If you drop wrong files or edit the SQL file improperly, it could break your Multisite network. Make sure that you're confident working with phpMyAdmin. And create a backup of your network first!
Import Users
Because users are stored for the entire network, and not just for specific sites in the network, there's no way for users to manually export users from or to the site that is part of the WordPress Multisite network.
The only way to do this is using the method of plugins described earlier in this post. Make sure you've imported each of the other files as well as tables.
Be aware that once you have imported users this manner, they will not be recognized as the exact user in the process of attributing posts to authors. You'll need to go through each page/post and assign them manually to the right authors.
The Previewing of Your Site
Summary
Transferring an existing WordPress site between hosts or even from remote to local sites is something that a lot of WordPress users must do at one point or another. There are many methods to do this but the primary difference is whether you perform it either manually or by using the help of a plugin.
On the other hand If you opt to move your WordPress site by yourself, the instructions above can help to ensure that you are doing it correctly and make sure your new WordPress website will be identical to the one you had previously.
Cut down on time, expenses and improve site performance by:
- 24/7 help and support from WordPress hosting specialists, 24 hours a day.
- Cloudflare Enterprise integration.
- Global audience reach with 34 data centers worldwide.
- Optimization through our built-in Application for Performance Monitoring.