
Make your very initial product prototype in just five steps
Are you ready to transform the idea you have in your head into something that customers will appreciate? Here's how to create an initial prototype of your digital product in just five steps.
It's not necessary to wait for your completed the product to respond to one of these queries.
You can't afford to wait all that time.
If you fail to create something that solves the real issue for your audience the idea you've come up with won't ever get out of the dirt.
Prototyping is the way to take. It may sound complicated or overwhelming, but prototyping and testing prototypes can be less expensive, simple and more efficient than you thought.
Before we get started to discuss the essentials.
What is a prototyping (and what are the reasons to create one)?
A prototype can be any item -- however basic -- that can help you get feedback from the product you're developing.
From mobile apps to a tangible products, individuals from different industries build prototypes to test out ideas. Your primary purpose for the prototype is to understand the requirements of your customers to create products that people are excited about.
At the end of your prototype phase, your result will be the minimal viable prototype (MVP). The MVP is a easy prototype of your product that will allow you to gauge the feedback of your audience and get a better understanding of the needs of your clients.

The MVP you create should not include all the features you can think of. It's impossible to know exactly what features customers want and require before you have tested your MVP.
Rapid prototyping can also help you conserve time and energy to come back later. It's cheaper and quicker to build an initial prototype rather than creating the full-blown product.
Prototyping is essential to the success of the UX development process. The purpose of effective UX must be to make it as easy and fun as possible to customers who use the product. It will enhance the overall customer experience.
In 2013, a Walker report predicted that in 2020, customer experience would overtake price and quality as the key brand differentiator. Their forecast has been realized.
Gartner discovered that that more than two-thirds of businesses have a primary focus upon customer satisfaction, which is up from 36% in 2010. Furthermore, 86% of buyers prefer to pay more for an experience that they feel is superior to.
Final word:
Building and testing a prototype will allow you to collect valuable feedback from your customers, which you require to provide the best user experience regardless of whether your final product is an online class, digital download, or something else entirely.
If you've gotten the concept of prototyping is all about it's time to learn how to go about it "how" of this process.
5 steps needed to build the first prototype
Step One: Define the issue your product is designed to solve
First and foremost, your product needs to address a real-world issue that your customers will be able to solve. 30percent of new businesses are unsuccessful because of the absence of demand for their product or the products they offer or.
Additionally, there's an absence of commercial product or service to match .
The product's market fit determines the extent to which your product is able to meet the needs of consumers.
One example of a great product-market fit is Casper. Philip Krim founded Casper following his observation that there were only two major mattress companies on the market and that there was a lot of potential for innovation.
Similar to how Sara Blakely developed the concept for Spanx undergarments after failing to find anything that looked flattering and comfortable for wearing beneath white jeans.
The first thing to do is decide what outcome you would like to give your customer. and then reverse the process to figure out the best way to achieve this result. That's your unique selling proposition (USP).
Your USP answers two questions:
What is the problem I am trying to solve using my service or product?
What differentiates my product from my competition?
Your USP could be defined as your "special Sauce". It's the thing that differentiates your business from others and why potential customers select the brand you represent. This can help you decide how you will promote your product or service.
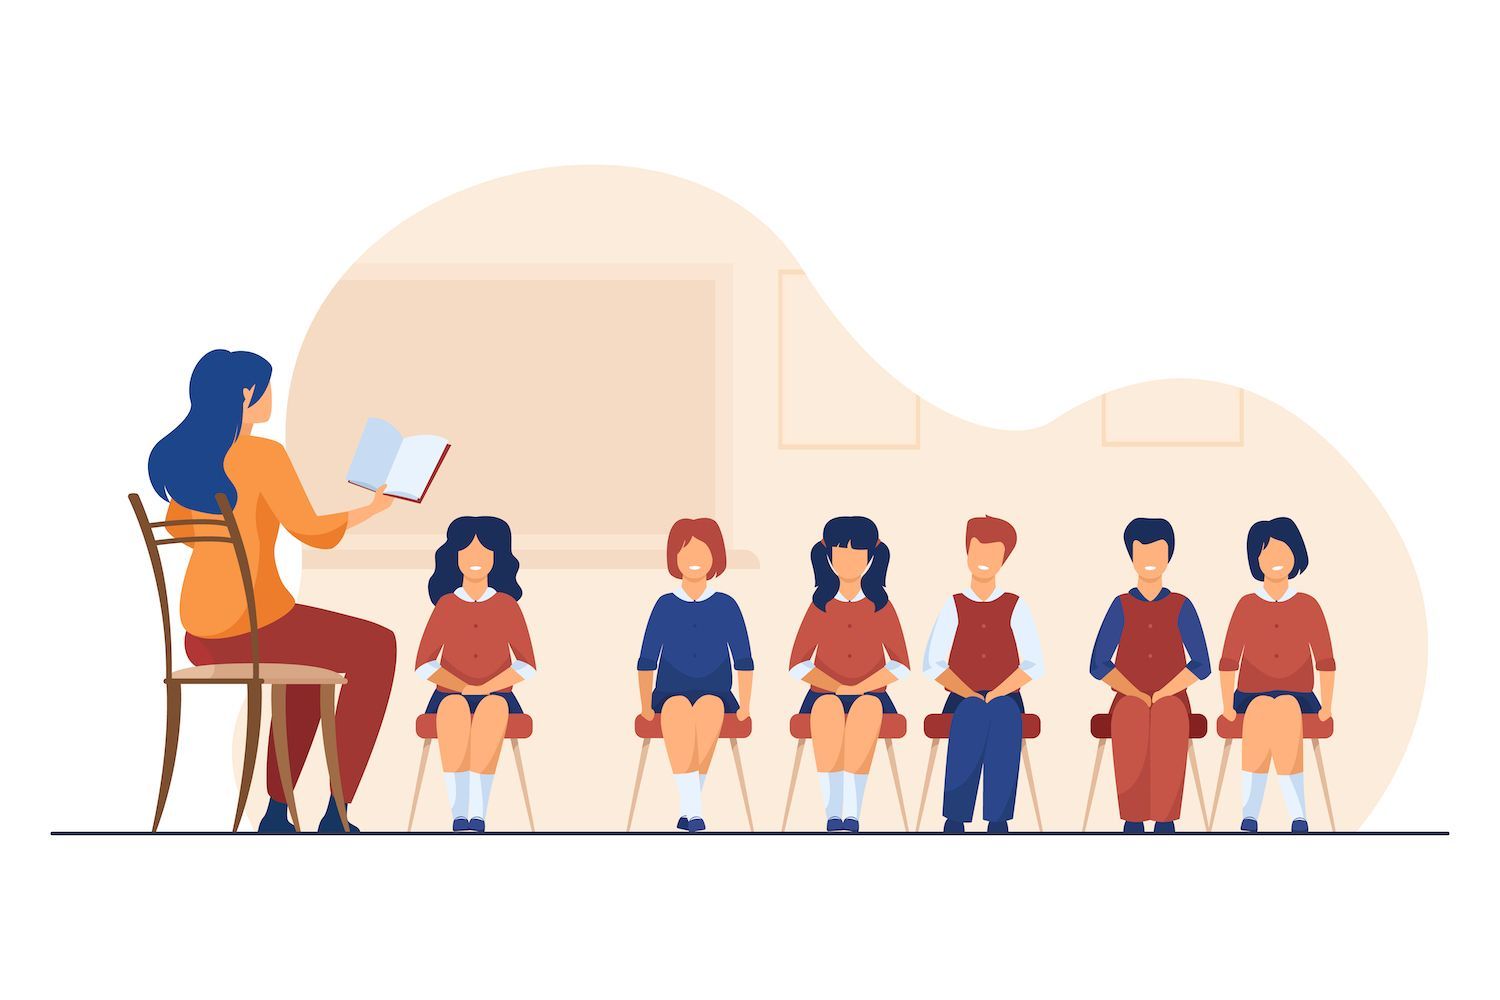
Step 2. Conduct customer research
When you are creating your design, it's essential to know:
What issue do you wish to solve.
If your solution is something your customers will be willing to invest money in and you are able to do so, then you stand an opportunity.
Look into community forums and communities on internet that are related to your topic. You can ask yourself:
What is my target public speaking about?
What kinds of questions are they to each other?
What challenges do they face?
What skills will the people need to acquire?
Reviews can be another excellent source for qualitative insights into the public. Check out other publications relevant to your area, and then go through the reviews.
With these articles, you'll discover that novice home pasta cooks need visual aids in helping them learn. It is now essential to incorporate pictures and diagrams in the design.
If you already have an audience, or an social media, don't feel shy to ask them directly what they're looking for from the product.
Tiffany Williams, the founder of Rich Girl Collective was able to discover what people wanted by listening to their remarks and queries.
"I will just ask my viewers what they would like to know to know, what information they'd want to learn and, if the answer is something I've tried that I've succeeded with the concept, I'll show them the concept."
It's possible to gather the opinions of your clients through surveys sent to your email list. Discover their most pressing pain points and what they're looking for to solve their issues.
Survey tools such as SurveyMonkey , Typeform and Google Forms assist you in creating and distribute surveys in easy.

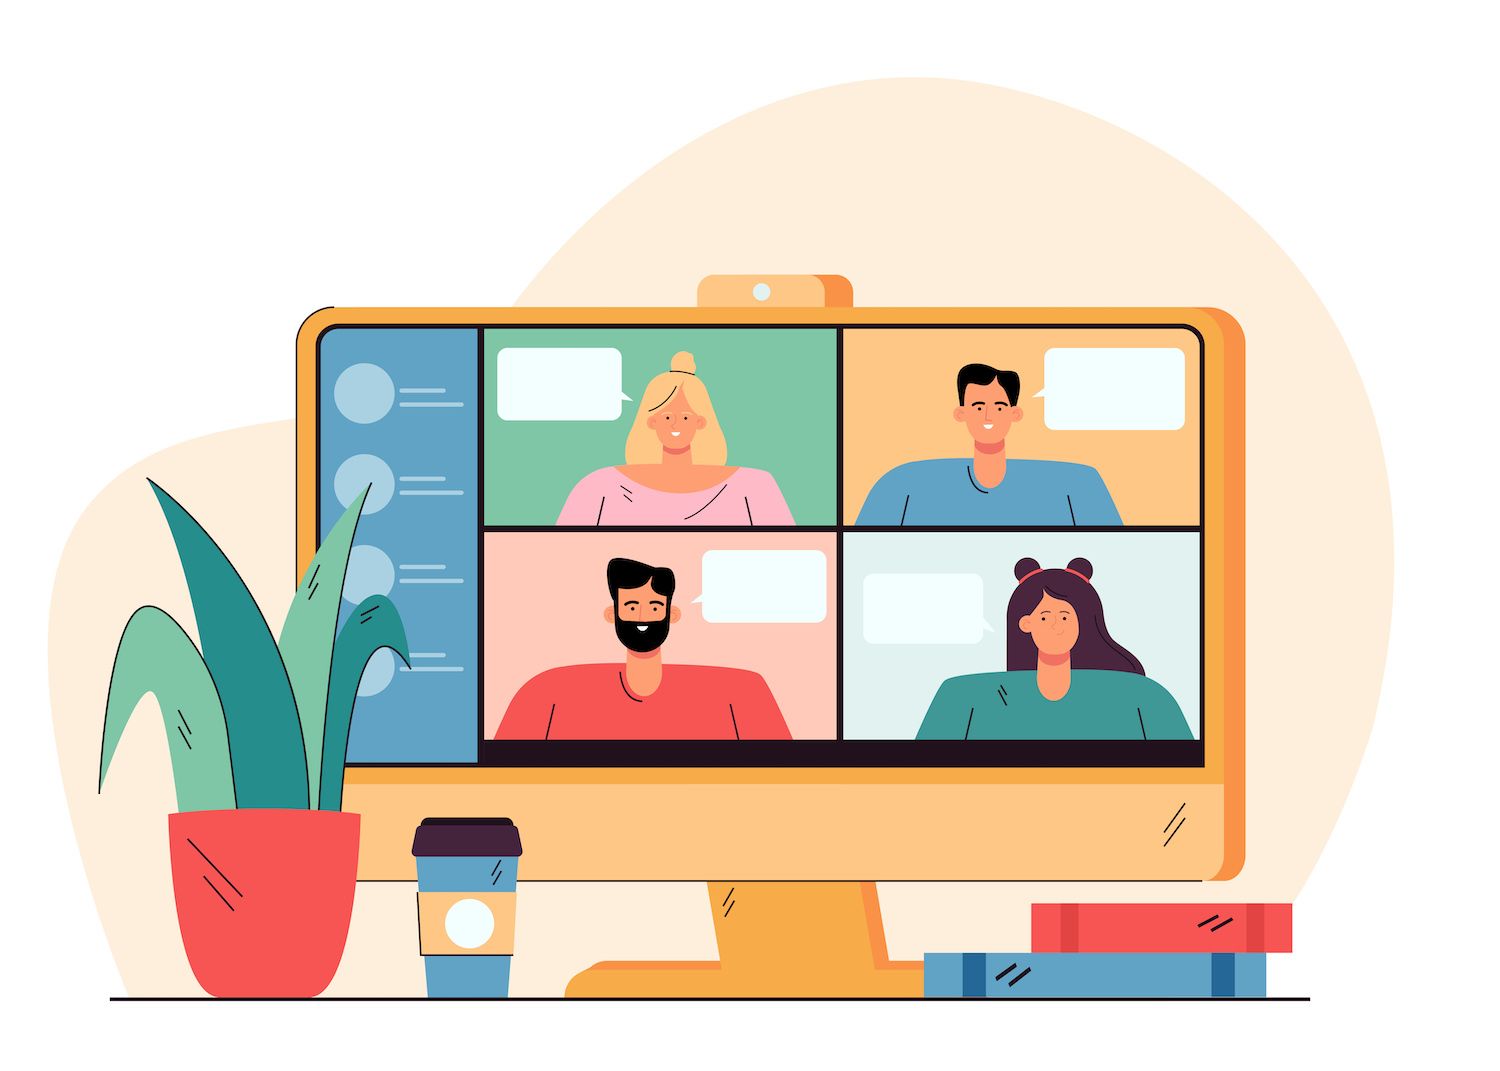
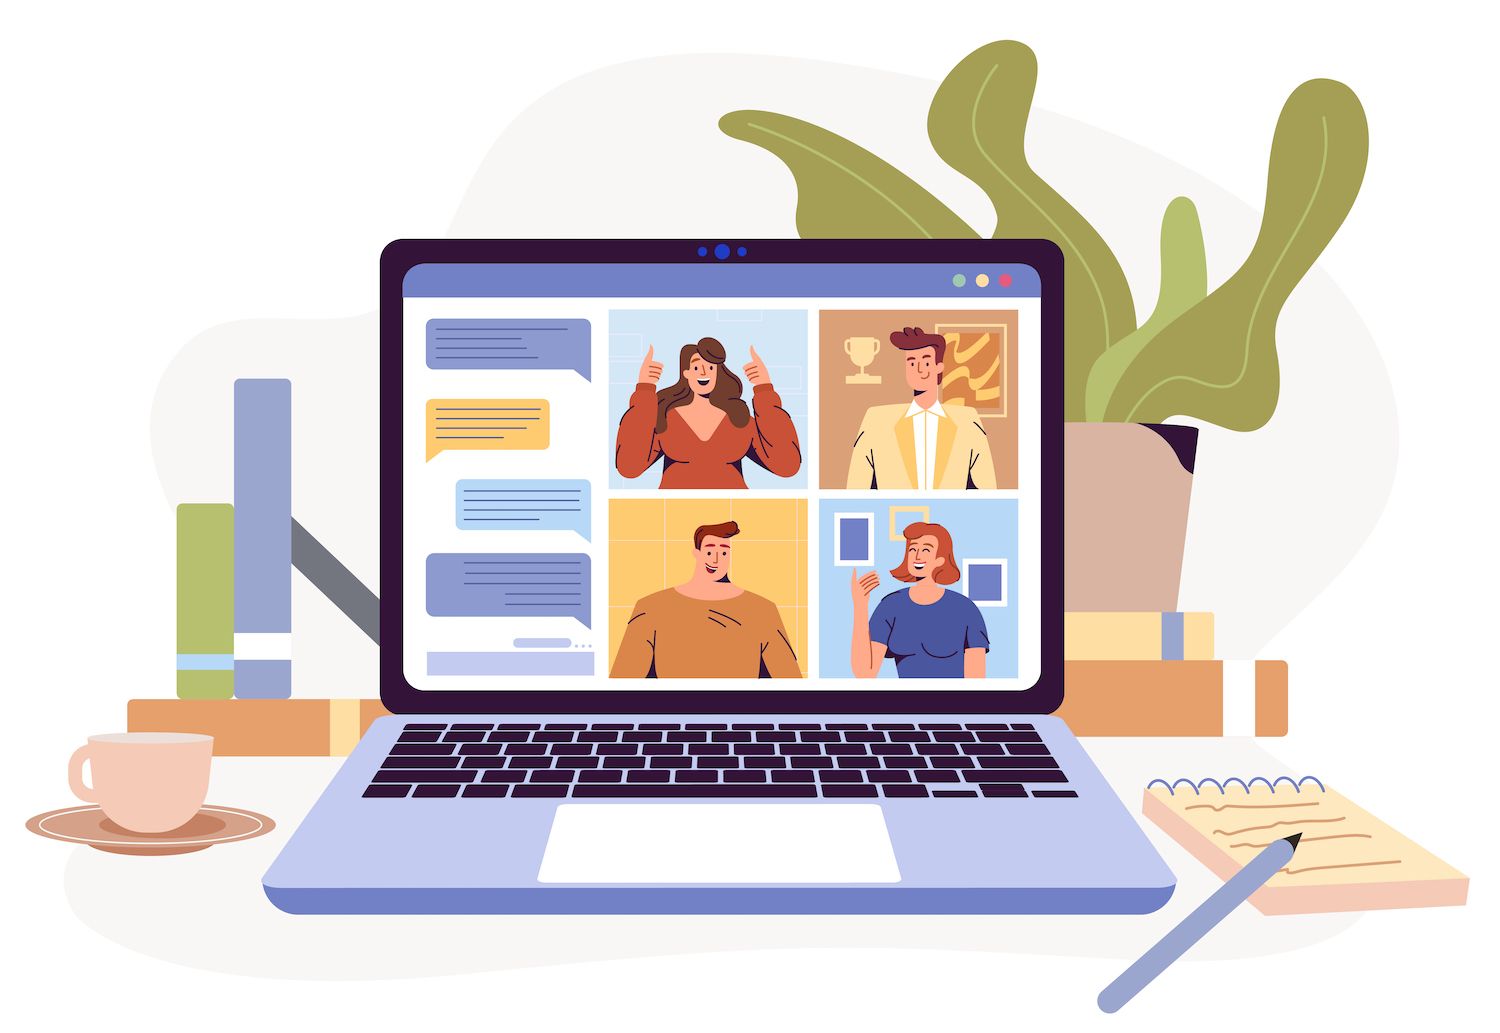
Another possibility is connecting to customers via social media.
Take creator John D. Saunders As an example. John solicits his followers to provide comments on his initial concepts prior to the release or sale of an online class.
The following Tweet text , John explains how the audience is part of the course development method:

(P.S. It is a breeze for entrepreneurs such as John to develop and sell online classes, digital downloads membershipsand much more. Sign up to create a free account now .)
As you collect data about your attendees and hearing their feedback at this point, make sure to note down all the information that you are able to, no matter how tiny the details. The more information you gather will make it much more effective in the following step. is.
Third step: Sort the information and ideas
When you've collected all the information about customers that you can, you'll need to organize the information so that you're able to transform your findings into a prototype. It's the perfect moment to focus your efforts to go beyond an abstract idea to an actionable outline that represents your MVP.
If you're unsure of where to start, make your own affinity graph.
Affinity diagrams also known as cluster maps, can be described as used as a UX design tool to organize qualitative data into various themes or categories. The visual aids can be used to identify which information is connected to one another and when various themes appear.
It could look a little something like this :

Here's how you can create An affinity graph :
Track all of your thoughts and ideas on sticky notes.
Look for similar ideas and then group them.
Provide a definition as well as an identifier for the group. What is the primary characteristic that each note in the group shares?
Sort sticky notepads in categories until all notes are easily sorted.
Determine which categories are the most crucial to be considering in your prototype. What aspects or concepts stand out most in your study? Which are the groups with the most effective sticky notes?
If you prefer to create your affinity diagram digitally Design Software UserTesting and InVision offer an arrangement template which allows you to transfer and organize your UX studies directly on your desktop.
A great tool that can help identify the best digital products ideas is our Passion/Profit Matrix.

( Download the template here. .)
The Passion/Profit Matrix helps you answer two crucial questions:
The PassionHow thrilled are you about the idea of a new product?
Possibilities for Profit:Do people already spend on this issue to find an answer?
Utilize the information you collected in the second stage to sketch your ideas of your product on the matrix. You must choose the idea which is located within the upper-right quadrant.
Once you've completed this, you'll have an idea of the product you'd like to create and what features you'll need to incorporate in your prototype. Now, you're ready to design your MVP.
Step 4: Create and then share your MVP
A MVP is much more than an idea or mockup. It's an actual product customers can try out, after which they can share their experiences with you.
It's only one version and not the finished product. You don't have to include every detail. Instead, focus on the aspects that came to mind the most when you studied. MVPs are the prototypes that MVP will give customers a glimpses of what the product will look like.

The photo sharing website Unsplash began as a Tumblr blog that featured ten photos. Product Hunt started just like its name suggests. It was a website that allowed link sharing called Linkydink.
Going back to our homemade pasta recipe, suppose that your undertaking is the creation of an online class that teaches students all they need to know about pasta making beginning from the basics of different shapes and ending with specific types of flour.
If you want to be your own MVP, you could create an introductory course covering the basics of pasta making or make a book about a particular ability, for example, making your own noodles.
Whatever your MVP turns out to be, you have be sure that it's placed in front of the right public.
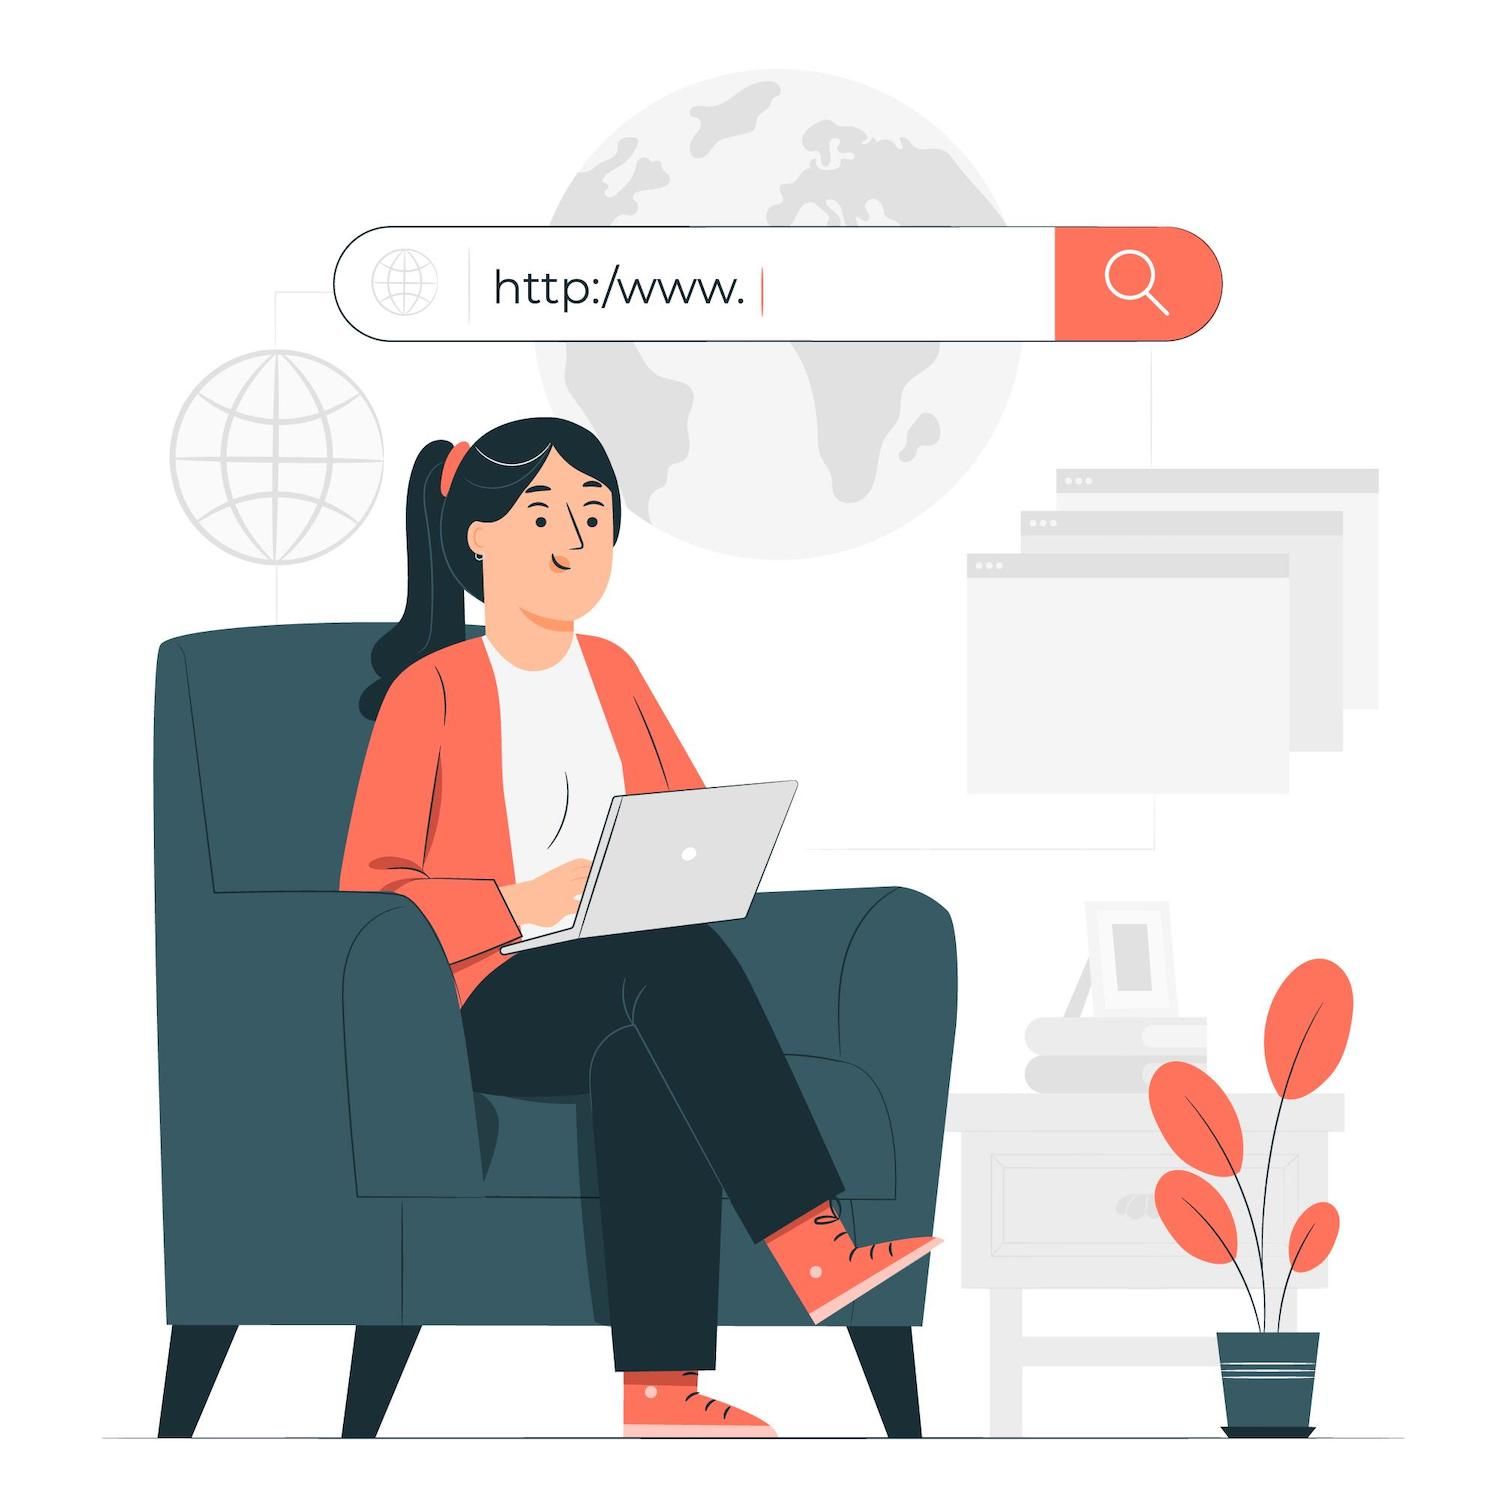
One of the easiest methods to create a client list to build a list of customers for your MVP is to design a landing page.
Unlike your website homepage, a landing page is an individual webpage that concentrates on one specific conversion goal .

A digital product that is launched before launch can provide two major benefits:
Validating your product ideas.

Here are some extra landing page tricks to be aware of:
Use your knowledge of clients from the second step to create copy that is relevant to their goals and issues.
Be sure to focus on the positive aspects of your product, rather than just the features. Tell your audience the specific methods your product can make a difference in the quality of their lives.
Make sure your landing page is easy to read and include just one call-to-action (CTA).
Over half of all website traffic originates from mobile devices. So, ensure that your landing page is optimized for mobile users.
When you've got your MVP available to people you wish to reach It's now time to take the last - and most importantpart of the design process.
5. Collect the feedback of your customers.
The time has come to gather and implement user feedback about your MVP.
This is the best part that your clients want to give feedback to them. 95% of customers have a positive view of businesses who ask for feedback.
If you don't have many users to contact to receive feedback, don't be worried. Based on Jeff Sauro of MeasuringU, only five users are able to reveal 85percent of issues on the interface.

Testing your MVP can be as simple as having five testers play using an interactive model. When they are through the testing process it is important to ensure they record the way they interact with the application as well as discuss their thoughts on the visual design as well as the user-friendliness.
Facilitate users to provide feedback, whether that means calling them in a minute to listen to their comments or sending another questionnaire via Typeform and Google Forms.
After you've gathered the information, you'll be in a position to use the method of affinity diagramming described at step 3 to organize the information you have collected. Apply that feedback to the next version in your MVP.
It's likely you'll need to create multiple versions that are based on the MVP in order to make the most possible product for your clients.
After you've tested all the MVPs You'll be armed with all the information you need to begin your minimum-marketable product (MMP) that is a sellable version that is a resold version of your MVP. After that, you can continue seeking feedback from customers.
It's an ongoing procedure, not an unending process. As you gain knowledge about your customers, the more you will have the ability to improve your products until you create products that your clients enjoy.
The process of converting an idea to digital prototype
From the initial concept to the final product an extended procedure, but creating a prototype and making an MVP could make all the change.
When you create and test your prototype, you gather valuable data and data that helps you to create an ideal product for the people you want to reach.
The steps below will help you in creating a layout for the digital product you want to create:
Look for a problem that is in need of being solved.
Conduct customer research to discover what issues your customers face and objectives.
Write down your research findings in order to determine your top concerns to tackle and the features you'd like your product to have.
Use the data to develop your minimum acceptable product (MVP) and later create a landing page to showcase it to the public.
Gather and integrate feedback from the first users. Next, go on to launch the following iteration of your MVP.
Your ideal customer is searching for an original solution to their issues. You've got the expertise and the concepts to give them the one. The only thing you must take is begin.
Article was first seen on here